

Requirement:
2. USB drive 8 GB or larger: to boot Mac OS X from it, make a bootable USB Drive (bootable USB is a only option because no DVD till date is available which is more than 4 GB)
3. TransMac: This software will help you to make a bootable USB drive, It is a paid software but you can also download 15 Day free trail.
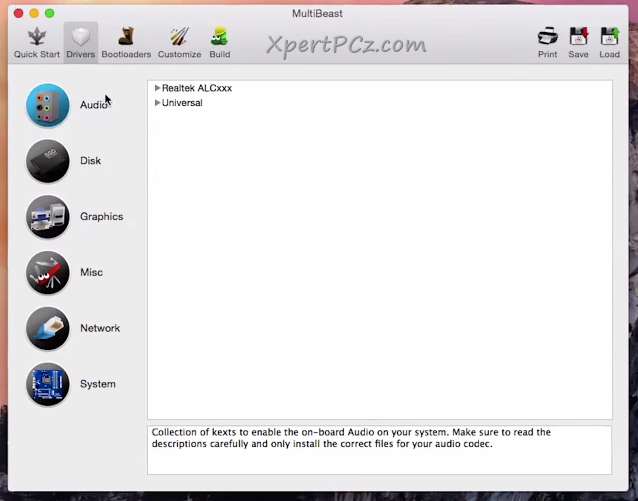
4. MultiBeast - Yosemite: it is a utility tool which allow you to install appropriate drivers for you audio, networking, boot loaders and couple of different things.
Making a Bootable USB Drive:
1. Download and Open TransMac.
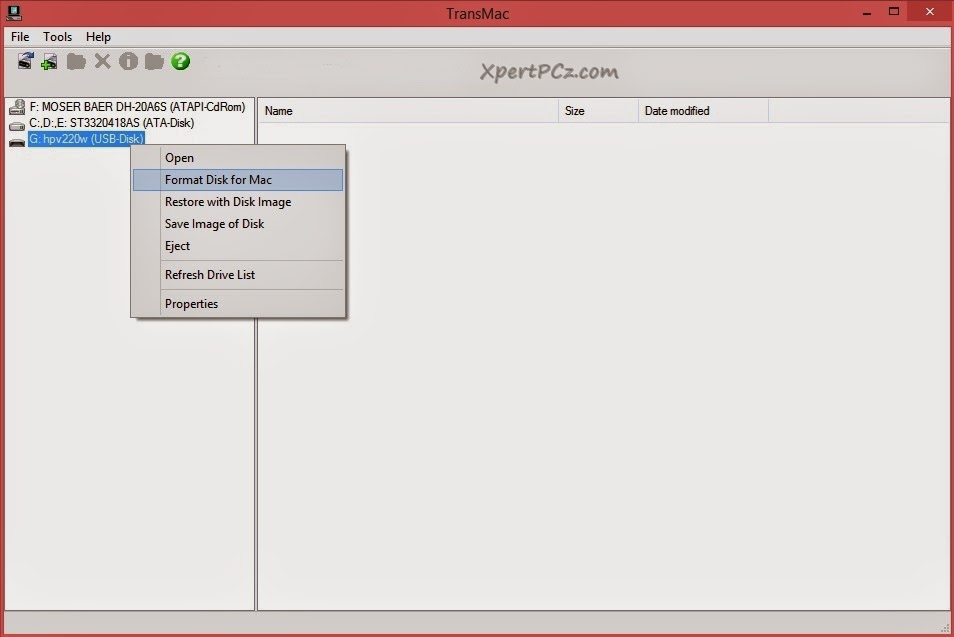
2. Insert your USB (8 GB or higher) and in the left sidebar you will see you USB label right-click on it and click on Format for Mac.
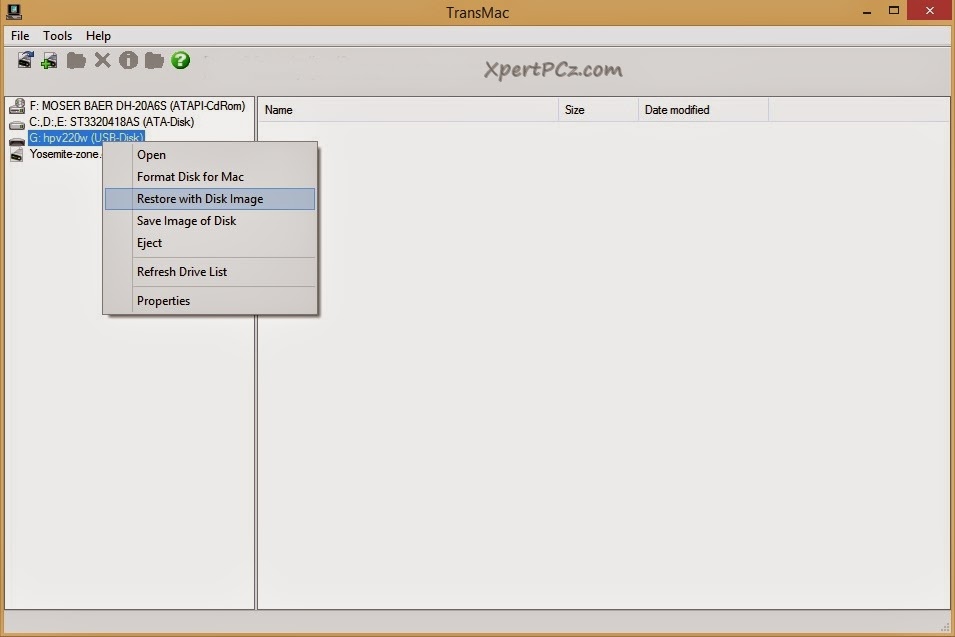
3. After formatting right click on your USB and click on Restore with Disk image.
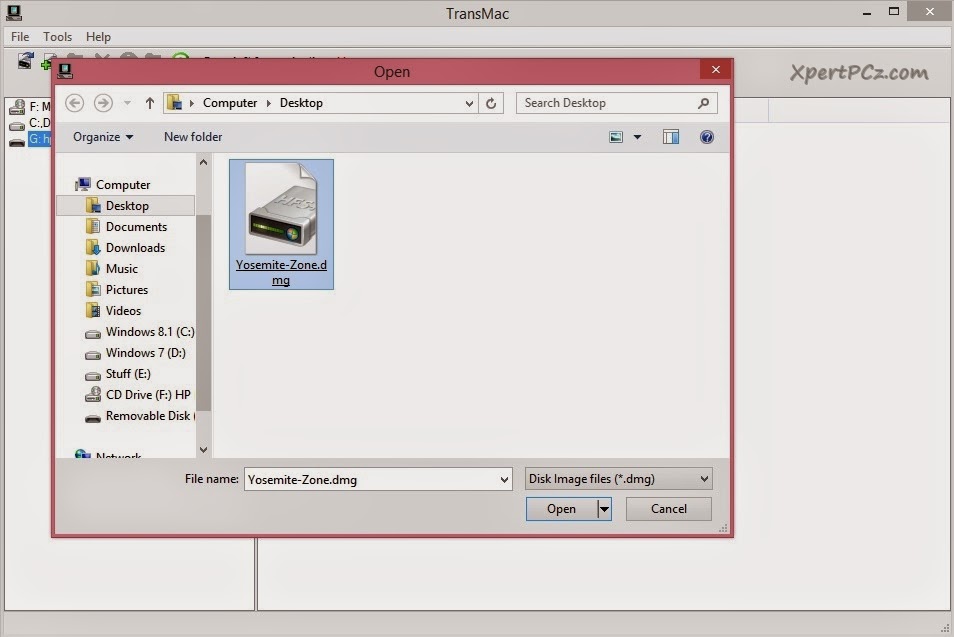
4. Now go ahead and locate your downloaded Yosemite Zone.dmg file, this will make your USB bootable, this will take around 15 - 20 min.
5. Once TransMac finishes, your USB drive will contain a fully bootable version of the Mac OS X Yosemite installer.
Now it time for Installation:
1. Plug-in your USB to your Computer.
2. Now Boot your Computer from your USB, (by click F12 or F8 as soon as you PC start)
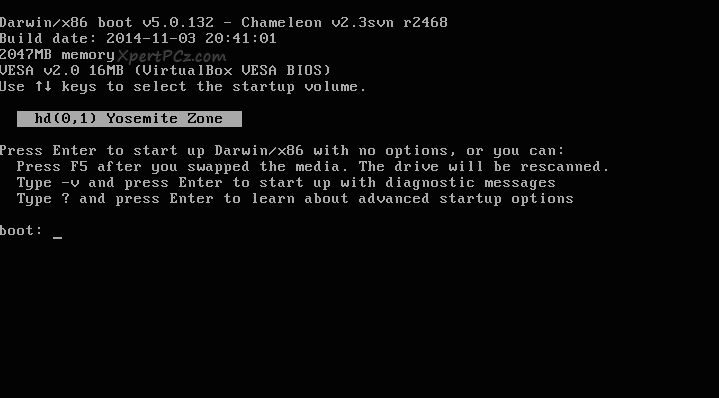
3. Now on the next screen you will see the Yosemite Zone label, hit enter and go ahead.
4. Then your Booting Screen will appear, just wait for a while for Setup to Start.
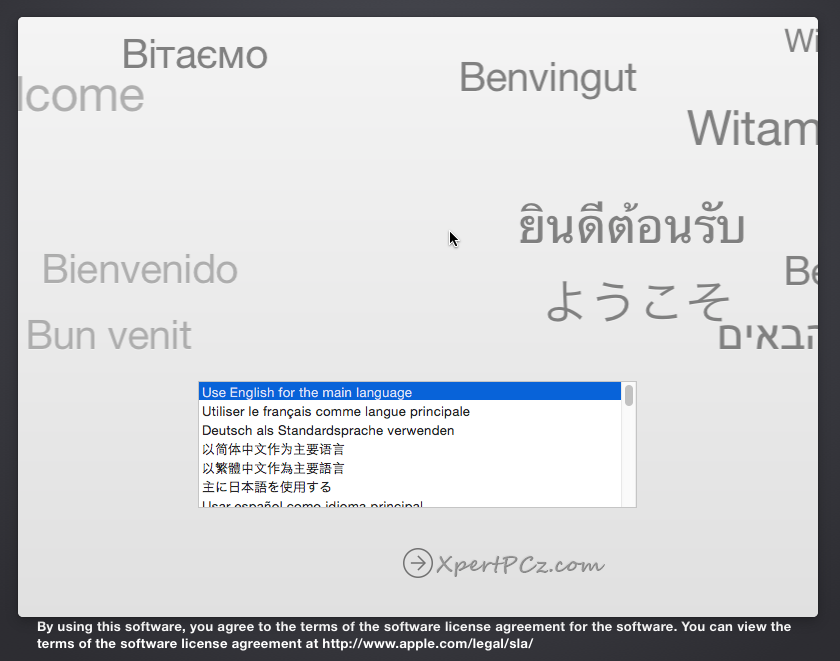
5. On the Setup screen Choose you Language, and go ahead.
If you haven't made a partition Drive
1. Go to the top menu bar and open Disk Utilities under Utilities tab.
2. Select the Hard Drive go to partition tab, click on 1 Current partition under partition menu, name your partition, and make sure you to keep it on Mac OS X extended (Journaled) under format section.
3. Now Click Apply and Partition.
-X-X-X-
6. On the next screen click Continue.... Read the agreement (if you want) then click Continue.
7. On T&C dialog box click on Agree.
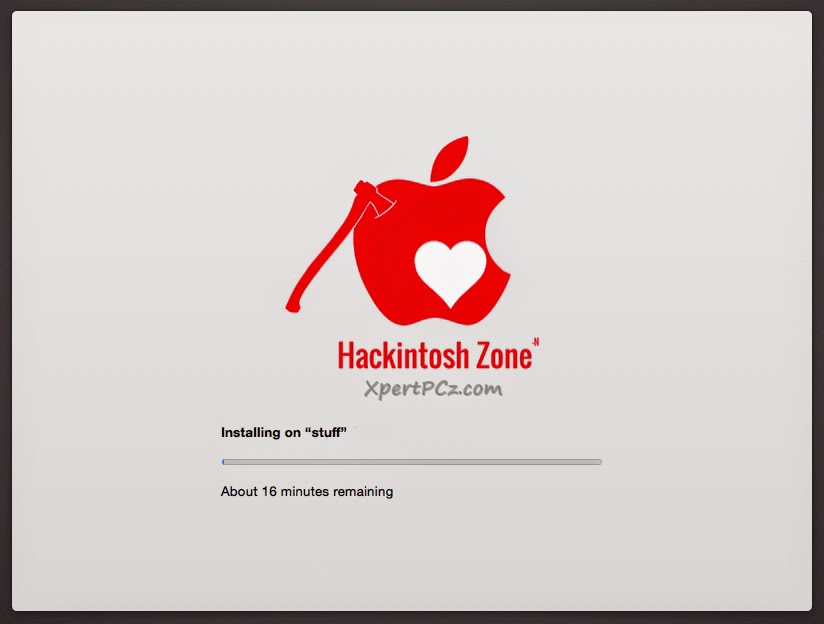
9. Now here your Mac OS X Yosemite installation will start and it will take around 10-25 min to complete.
10. Now once you are done with your installation process, Restart you system
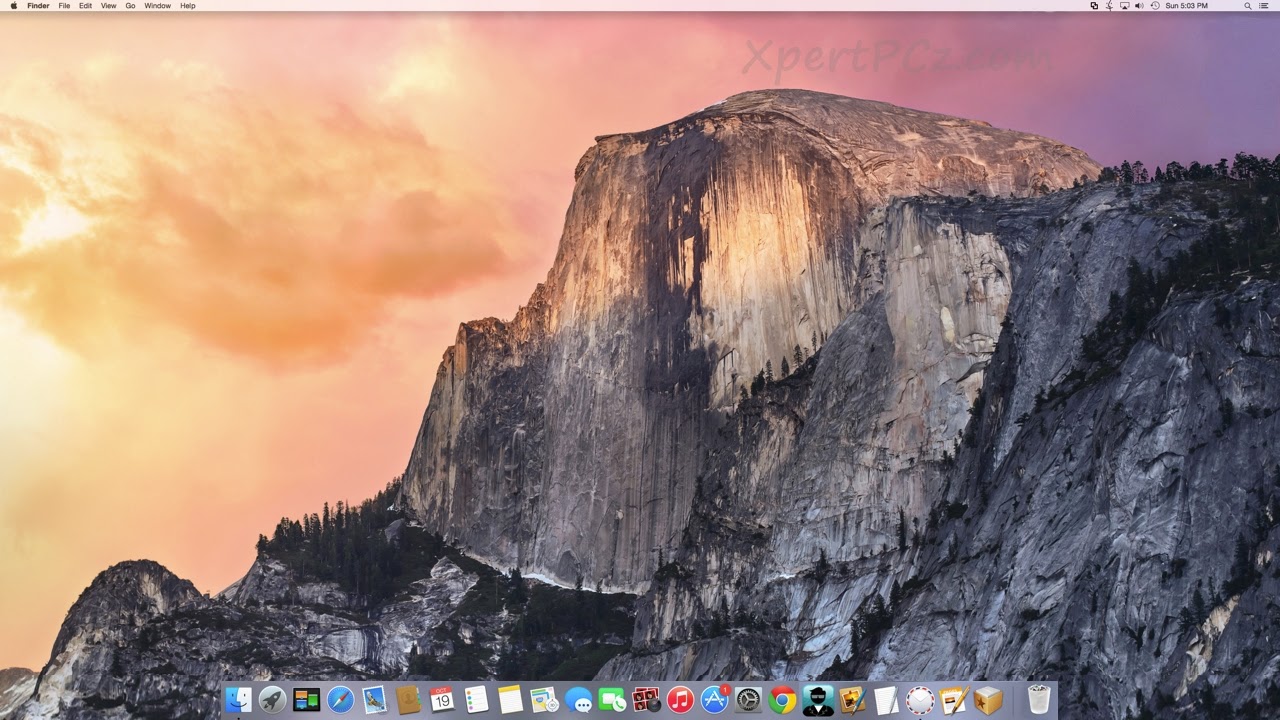
11. At booting screen you will see a Hard Disk icon, Select it, and it will boot into your Mac OS X Yosemite. and your Desktop will appear.
7. On T&C dialog box click on Agree.
8. On next screen make sure you select you target drive then click Continue.
9. Now here your Mac OS X Yosemite installation will start and it will take around 10-25 min to complete.
10. Now once you are done with your installation process, Restart you system
11. At booting screen you will see a Hard Disk icon, Select it, and it will boot into your Mac OS X Yosemite. and your Desktop will appear.
Now you have installed Mac OS X Yosemite and now what all left is to optimize our computer for drivers, so that every things works smoothly on Mac OS X 10.10, for do this:
1. Open your USB where you have downloaded Multibeast.
2. Open Multibeast,
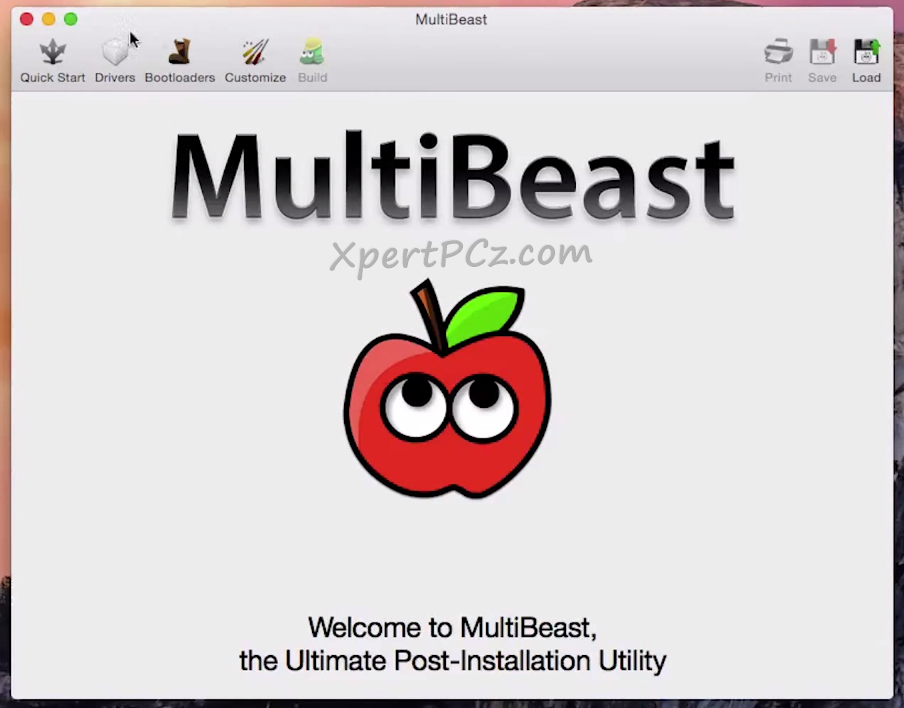
3. Go to Quick Start, and click on DSDT-free, it will install all the necessary driver to your hackintosh.

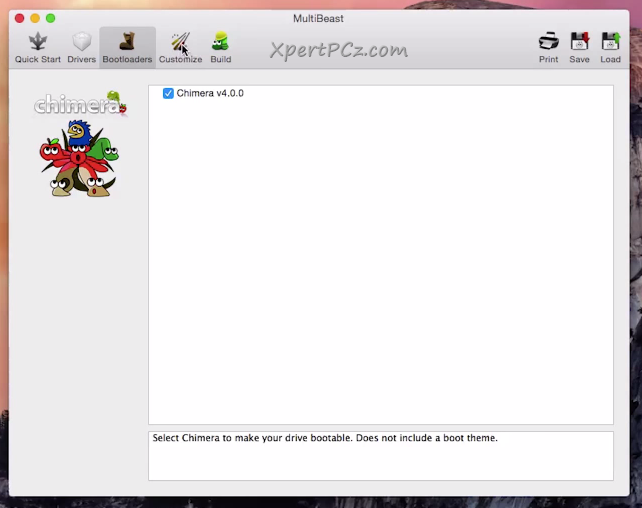
5. Now go to Bootloader tab and check on "Chimera", which will help your computer to boot directly to Mac OS X.
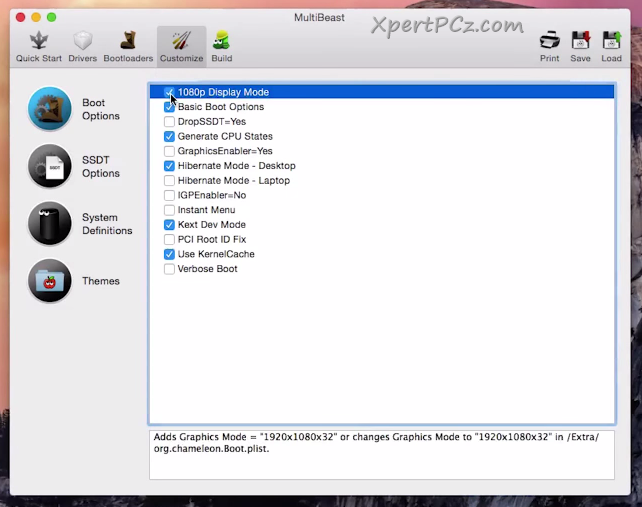
6. Now go to Customize tab and check on "1080p Display mode", which will make your display high definition.
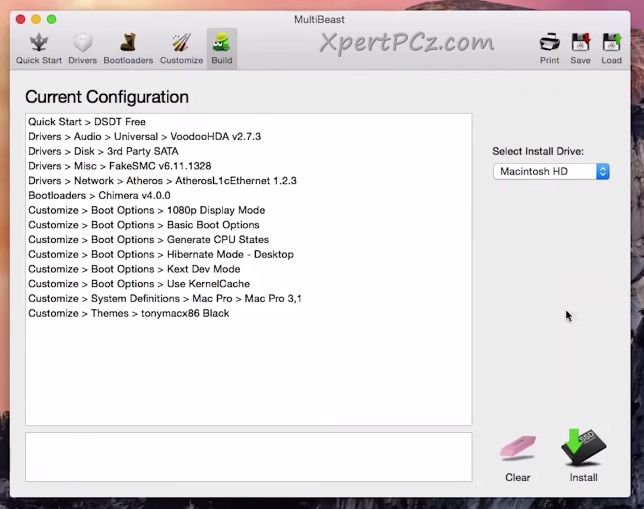
6. Now go to Build, and click install, to install you selected drivers.
if any driver(s) doesn't work just you have to do some research and figure out which specific driver you need for your motherboard.
7. After you successfully installed all you driver, just go ahead and restart you computer so that every thing get to work.
now you have successfully installed Mac OS X Yosemite 10.10 in you PC. enjoy using :)
No Comment to " How to install Mac OS X Yosemite in your Windows PC Using "Yosemite Zone"? "